
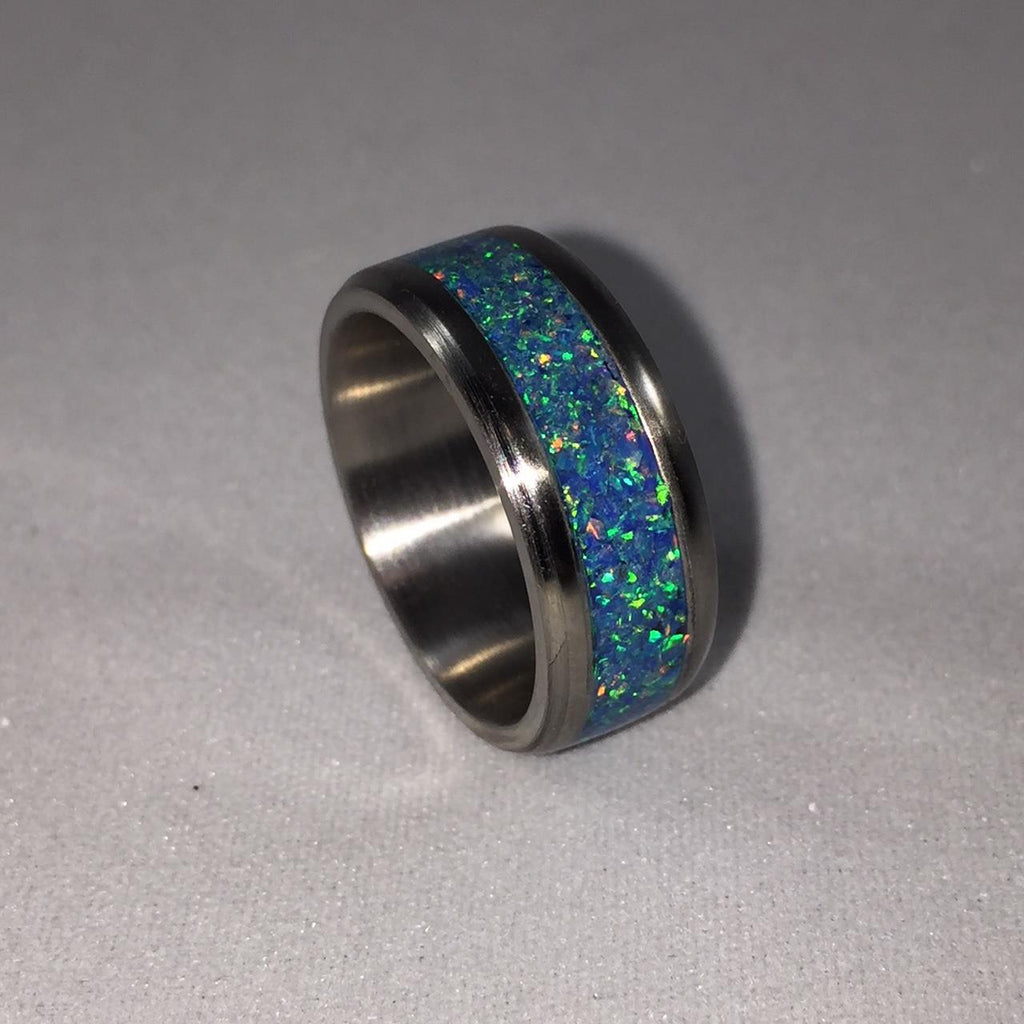

How to Make a Titanium Engagement Ring with Crushed Opal Inlay
Tools/Materials Needed:
- Lathe
- Ring Mandrel
- Ring Core
- Crushed Opal for Inlay (1 Gram makes approximately 2+ rings)
- CA Glue - Thin, Medium, and Thick
- CA Accelerator
- Sandpaper Wet/Dry 220 - 1500 Grit
- Micro Mesh Pads 1500 - 12000 Grit
- Shop Towels
- Plastic Polish
- Carbide Tipped Tools (always use sharp tools!)
- Safety Glasses
- Respirator
WARNING: Always wear the appropriate safety equipment when using a lathe.
Making a Crushed Opal Ring:
-
Place the ring mandrel in the lathe chuck and slide the ring blank on it. Using an expanding ring mandrel is recommended to ensure the ring does not slide off while working.
-
Add small amounts of thick CA glue to the inner channel of the ring blank, followed by the crushed opal. Be sure to fill all gaps in the channel.
-
After you have completely filled the channel with crushed opal and CA glue use thin CA glue to coat the crushed opal and make sure everything is glued in place.
-
Spray a very small amount of accelerator on the ring while turning the chuck by hand.
-
Add two coats of medium CA glue over the top of the crushed opal to keep it in place while preparing to cut away with the carbide tools. You can spray accelerator after each coat to help speed up the curing process.
-
Now that our crushed opal is set in place and all gaps are filled, we will set the lathe up with our carbide tool. Be sure to spin the chuck by hand before starting the lathe to ensure nothing gets caught on it, and always wear the appropriate safety equipment.
-
We generally use a high setting on our lathe as we take the excess opal off of the ring. It will help make sure that you are cutting the crushed opal rather than ripping chunks out of the ring blank.
-
Do small passes with your carbide tool taking off very small amounts at a time until your crushed opal is the same height as the ring core.
-
Lightly sand the ring on a low RPM with 220 grit WET sandpaper, and then dry the ring with a shop towel.
-
Apply a small amount of thin CA glue to a shop towel and rub the towel against the ring while it is on a low RPM. You will notice the ring begins to look polished from the CA glue. Spray accelerator lightly after each coat or allow it to dry. Do this 4 times with thin CA, then 2 times with medium CA (more coats can be applied as desired).
-
After your ~6 coats of CA have been applied and are fully dry (~30+ minutes), continue WET sanding with 400 - 1500 grit making sure you sand evenly.
-
Move on to WET sanding with the Micro Mesh Pads from 1500 - 12000. You will notice the Micro Mesh Pads achieve a very nice polished look once you reach the end!
-
Apply plastic polish to your shop towel and rub 1-2 coats on.